Your Rating:
En
En

Epson iProjection
Epson iProjection


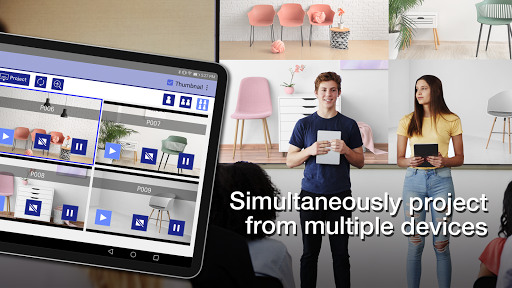
Description
Show more
Reviews
Apps is not responsible
for any
of the apps in the catalog. Using this app you take your own risks. Read
our Disclaimer Terms
and Privacy Policy